
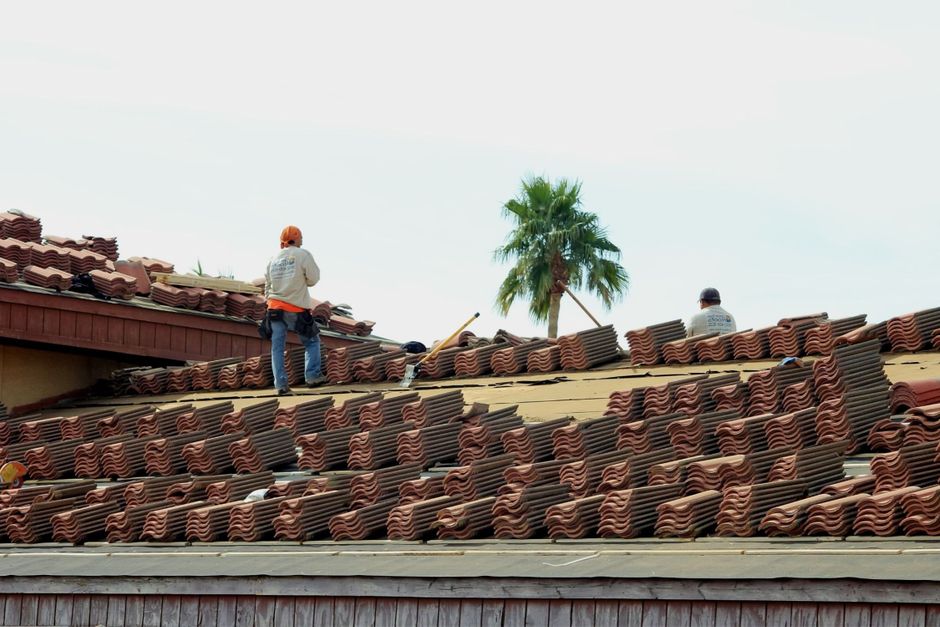
Documenting roof storm damage well is the easiest way to make an Arizona insurance claim go smoothly. The best documentation is clear, dated photos and video taken as soon as it is safe, from the ground and indoors, showing the damage, its location on the house, and anything that proves when it happened. After the August 19 dust storm hit Tempe and the East Valley, many homeowners are finding that the photos they took that night, or did not take, matter more than they expected.
Here is a practical shot list, the mistakes that weaken claims, and how a roofer’s inspection report fits alongside your own photos.
Why does documentation matter so much for roof claims?
Insurance policies generally cover sudden, accidental damage such as wind, hail or a falling limb, and exclude gradual wear and tear. Roof claims often come down to one question: did the storm cause this, or was it already there? Good documentation answers that question for the adjuster:
- It ties the damage to a specific storm date.
- It shows the damage before cleanup or temporary repairs changed the scene.
- It connects roof damage to any interior damage so the whole loss is considered together.
Without that record, an adjuster has to reconstruct events from what they see weeks later, and that is when disagreements start.
What photos should you take after a storm?
Stay off the roof. Everything below can be captured from the ground, from a window or with a phone zoom.
- Wide shots of every side of the house, so it is clear where each damaged area is.
- Zoomed shots of visible roof damage: missing shingles, broken or slipped tile, lifted flashing, torn coating.
- Debris on the ground near the house, with something recognizable in frame, such as the house wall or a downspout.
- Fallen limbs on or near the roof, before they are removed.
- Gutters, downspouts, fascia and patio covers, which are often damaged in the same storm.
- Interior damage: ceiling stains, drips, wet insulation, damaged belongings. Take one wide shot of each room and close-ups.
- A short walk-around video narrating what you see and the date.
- Proof of the storm: screenshots of weather alerts or local news coverage for that date.
Need a professional roof damage report to go with your photos?
What separates useful photos from weak ones?
| Topic | Weak documentation | Strong documentation |
|---|---|---|
| Timing | Photos taken weeks later, after cleanup | Photos within hours or days, before anything is moved |
| Context | Close-ups with no way to tell which part of the house | Wide shot first, then a close-up of the same spot |
| Dates | Screenshots or edited images with metadata stripped | Original files with timestamps kept, backed up to the cloud |
| Interior | Only the stain, no link to roof damage | Stain photos plus the matching roof area above it |
| Temporary repairs | Tarp installed with no before photo | Before, during and after photos, plus receipts |
Why a before-damage baseline is so valuable
The strongest claims compare the roof after the storm to the roof before it. If you have photos from a recent inspection, a home purchase or even real estate listing photos, keep them with your claim file. Going forward, it is worth photographing your roof once a year, ideally before monsoon season, so you always have a baseline.
A professional roof inspection report with photos gives you that baseline in a format adjusters recognize. It also catches weak spots before a storm finds them.
How does a roofer’s inspection report help?
Your photos show what you can see from the ground. A roofer can document what only shows up on the roof: cracked tile that has not moved, shingles whose seal has released, torn underlayment, bruised flashing and damage hidden under debris. A useful storm damage report includes:
- Dated photos of each damaged area, marked on a roof diagram.
- A description of the roof type, approximate age and overall condition.
- Notes separating storm damage from existing wear, which builds trust with the adjuster.
- A repair scope and estimate.
An honest report that points out what is not storm damage is more persuasive than one that claims everything is. If you were hit by the August storm, our post-dust-storm roof checklist covers what to look for before you call.
What mistakes weaken a roof damage claim?
- Waiting weeks to report, especially after a second storm muddies the timeline.
- Throwing away damaged shingles, tile pieces or wet materials before they are photographed.
- Skipping temporary protection. Most policies expect reasonable steps to prevent further damage, such as tarping.
- Letting an unverified door-to-door contractor handle the claim.
- Exaggerating damage. It can delay or jeopardize the entire claim.
How should you organize a roof claim file?
Adjusters handle many claims at once after a big Valley storm, so a tidy file helps yours move faster. Keep everything in one shared folder or notebook:
- A simple timeline. Storm date and time, when you first noticed each problem, when you called your insurer and when temporary repairs happened.
- Photo folders by area. Roof, exterior, each interior room. Name files with the date and location, such as “2026-08-20 living room ceiling.”
- Receipts. Tarping, water extraction, fans, hotel stays if the home was not livable, and any materials you bought.
- Communication log. Claim number, adjuster name, each call and what was said, and copies of every email.
- Roofer documents. The inspection report, estimate and any supplements if more damage is found once work begins.
If hidden damage turns up during the repair, such as soaked decking under tile, photograph it before it is replaced and share it with your adjuster right away. Insurers commonly allow supplements for damage that could not be seen at the first inspection, but only if it is documented before it disappears into the finished roof.
Related reading: Drone Roof Inspections: How They Work and When to Use One
Related reading: How to Appeal a Denied Roof Insurance Claim in Arizona
Frequently asked questions
What photos do insurance adjusters want for roof damage?
Adjusters want clear, dated photos showing the damage, where it is on the house, debris from the storm and any related interior damage. Wide shots followed by close-ups of the same area are most useful.
Should I climb on my roof to take pictures?
No. Stay on the ground and use zoom or binoculars. Storm-damaged roofs can have loose tile, debris and slick surfaces. A roofer can document the roof surface safely.
How soon after a storm should I take photos?
As soon as it is safe, ideally within hours or a day, before any cleanup or temporary repairs change what the damage looks like.
Do photo timestamps matter for a claim?
Yes. Keep original photo files with their metadata intact and back them up. Timestamps help connect the damage to a specific storm date.
Should I keep damaged roofing pieces?
Keep a few representative pieces, such as broken tile or torn shingles, until the adjuster has inspected or said they are not needed.
Can I make temporary repairs before the adjuster comes?
Most policies expect you to take reasonable steps to prevent further damage, such as tarping. Photograph everything first and keep receipts for the work.
Does a roofer’s report replace my own photos?
No. The two work together. Your photos show the timeline and interior damage, while the roofer’s report documents roof-level damage you cannot safely see.
Good documentation turns a stressful claim into a straightforward one. If your roof was damaged in a recent storm and you want a detailed, honest report to go with your photos, call Tempe Roofing Repair at (877) 689-3492 or book an inspection. We handle storm damage repairs across Tempe and the East Valley.
Related reading: Emergency Roof Tarping in Tempe, AZ: What to Expect